
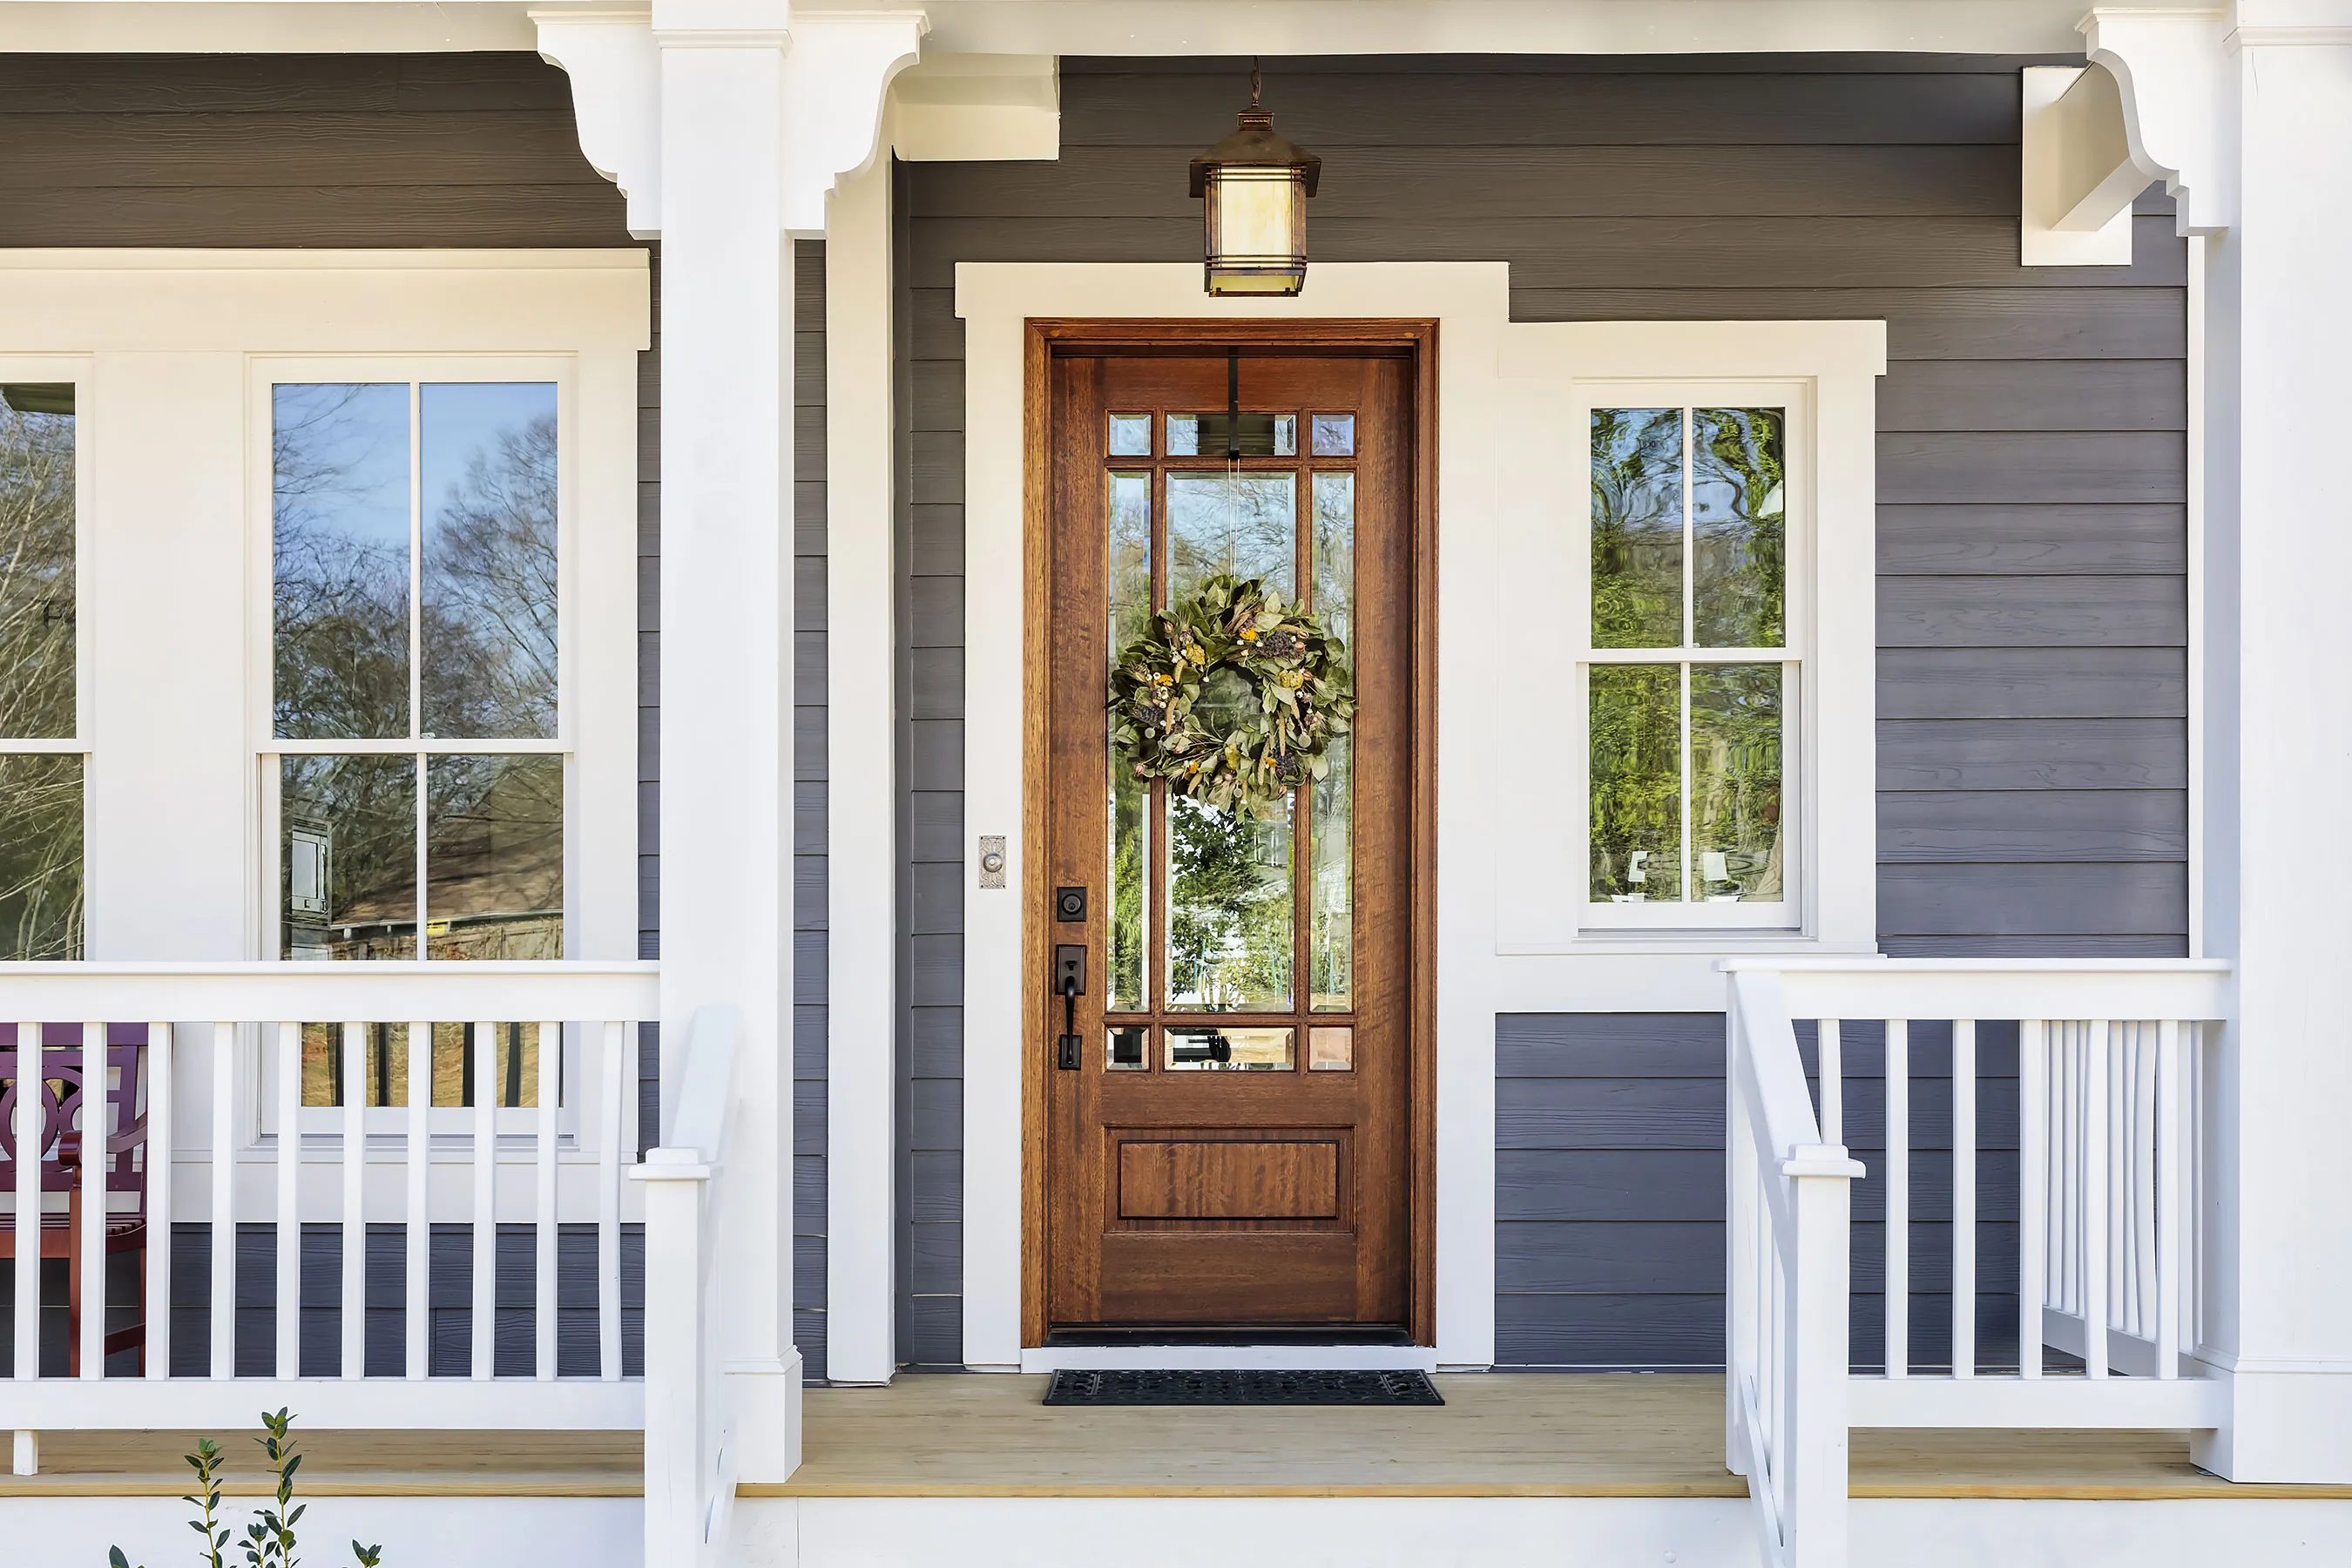
Refurbishing your entryway for curb appeal
Many homeowners are less than thrilled with the idea of repairing and refinishing their front door. The job is usually messy and frequently takes more than one day. Most homeowners hire a contractor to refurbish their entryway when it starts looking a little worse for wear.
The refurbishing job isn’t difficult for a professional contractor with skills and experience in entryway restoration. Think we’re bluffing? Then check out this guide. It's the approach we will generally use to refinish your front door.
Before we start
We’ll carefully inspect the signs of wear and tear you are trying to reverse. A door that may have warped due to temperature extremes cannot be saved by sanding. We might have to stain it to make the signs of damage disappear. We won’t ignore your door’s material of construction. While a solid wooden door might be damaged beyond repair with a few coats of paint, a metal door will become unrecognizable if subjected to sandpaper treatment. We know which refinishing method is best for your door.
Painted entryways
- Removing and disassembling the door. We’ll open your entry door and place a door stopper under it. Once we have removed the pins of all hinges, we’ll carry your door to a workstation. We’ll set up two sawhorses and cover them with a towel or padding. The covering will protect your door from scratches. Then, we’ll place the door on the sawhorses. We’ll disassemble all the hardware on the door, including doorknobs, handles, kick plates, and security locks. These will be repaired or replaced as necessary.
- Sanding the old wood finish. We’ll attach a sheet of 80-grit sandpaper to a random-orbit sander and move it over the flat panels of the door in gentle, back-and-forth motions. We’ll peel away paint until the finish gives way to clear wood. Then we’ll repeat the process with 100-grit paper, smoothing the wood finish.
- Polish the sanded wood. Next, we’ll replace the 100-grit paper with 120-grit or 220-grit paper and sand the same areas we smoothed in the previous step. This should make it extra smooth.
- Hard-to-reach areas. The corners and curved decorative areas of the door cannot be sanded with a machine. We need to sand them by hand. Using a trapezoid- or teardrop-shaped blade, we’ll start scraping. These scrapers work on different wood profiles. While a teardrop-shaped scraper works best for narrower areas, a trapezoid-shaped scraper works well on flatter areas that are relatively easy to access.
- Sand the wooden profiles with a sanding sponge. We’ll use 100-grit sandpaper to sand the areas we scraped in the previous step. It may not be possible for us to hand-sand some hard-to-reach places. If that’s the case, we may use specially designed sanding sponges to polish these surfaces.
- Remove leftover sawdust from the surface. We’ll remove sawdust by wiping the door clean with a dry cloth. We’ll then use a vacuum cleaner to get a more thorough cleaning.
- Painting. We’ll then proceed to the steps outlined in our Paint Surface Preparation article.
- Reassembly. We’ll reassemble most of the hardware, including doorknobs, handles, kick plates, and upper locks from the door.
- Reattach the door. We’ll carry your door back from our workstation to the front entryway, position it against its frame, and start inserting the hinge pins. Once we have reattached all the hinge pins, we align the door and reassemble any additional hardware.
Stained entryways
- Apply linseed oil. Linseed oil is a natural wood preservative that preserves and protects the wood’s surface. We’ll pour a small amount of it into a painter’s tray, lubricate a natural-bristle brush, and apply the oil over the curved portions, including stiles, horizontal rails, and moldings. Then we’ll use it over the flat portions.
- Apply stain. After making sure the wooden door is dry to the touch, we’ll apply stain over both the inner- and outer-facing sides of the door. We’ll start by applying the stain to the curved portions, then to the straight portions of the door.
- Apply a second coat of stain. We’ll give the first coat at least 1 day to dry, then follow it with another coat of stain. Then we’ll follow up with a clear finish on the third day.
Your entryway should make a great first impression on anyone visiting your home. The refurbishing process will take up to three days, but the results are worth waiting for.


